This is part of a series comparing QuickBooks Online to QuickBooks Desktop. I’ll be showing you how to do common tasks in both version of QuickBooks. So you can decide which version would work better for your business.
In this post, I’ll show you how to create an invoice and receive a payment for that invoice in both QuickBooks Online and QuickBooks Desktop.
We’ll start with Desktop.
Creating an Invoice in QuickBooks Desktop
On the QuickBooks Desktop homepage, there are several icons. Including an icon labeled Create Invoices.
Clicking that icon will open a new blank invoice.
I’m not going to go into detail on how to create an invoice. Instead, I’d like you to show the differences between the interfaces of the two versions of the software.
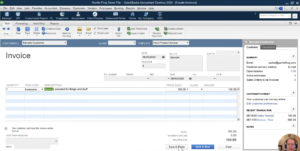
Here is what an invoice looks like in QuickBooks Desktop:
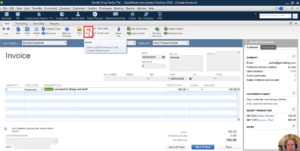
If you wanted to email an invoice to your client you would click the email icon in the ribbon menu.
Otherwise, you can click the Save and close button at the bottom of the screen to close the invoice.
Receiving a Payment in QuickBooks Desktop
You may have noticed the QuickBooks Desktop homepage is covered with icons. Those icons have lines with arrows between them. This is a visualization of the workflow you might use.
You can see that Create Invoices has an arrow pointing to Receive Payments. This is the next step we’re going to take.
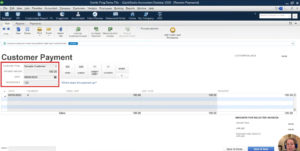
When you click the Receive Payments icon you’re taken to a Customer Payment screen. Here you can mark invoices as paid.
In this example I’ve entered a payment for the Invoice I created earlier:
That’s the process of creating invoices and receiving payments in QuickBooks Desktop.
Now I’ll show you the same process but in QuickBooks Online.
Creating an Invoice in QuickBooks Online
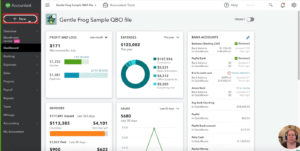
QuickBooks Online doesn’t have the same style homepage as QuickBooks Desktop. Instead, you’ve got a dashboard showing some of your most important information.
In QuickBooks Desktop you had different icons on the home screen for various actions. Like creating invoices.
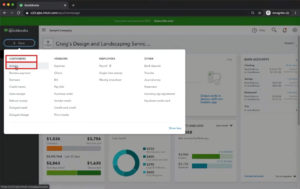
In QuickBooks Online you get to those actions through the “+ New” button in the upper left-hand corner.
To create an invoice click on that button and select Invoice in the Customers column.
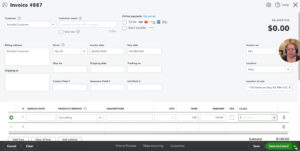
Here you can see the invoice creation interface. It’s similar to QuickBooks Desktop with some cosmetic differences.
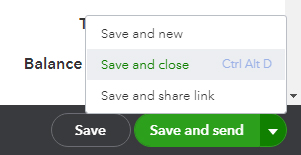
To email the invoice to your customer you’d click that green Save and Send button in the lower right-hand corner.
To save without sending click the carrot on the right side of that button and select Save and close.
Receiving a Payment in QuickBooks Online
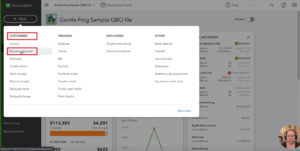
To receive a payment in QuickBooks Online click the +New button. Then select Receive Payment in the Customer column.
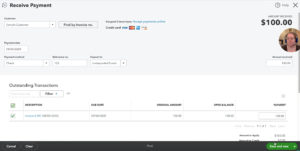
The Receive Payment screen is also similar but different from QuickBooks Desktop.
Once again you’d save your payment by click that green button in the lower right-hand corner.
There you go. That’s how you create an invoice and receive a payment in both QuickBooks Desktop and QuickBooks Online. They’re similar but they do have their differences.
As I go through this series comparing the two versions of QuickBooks I want to emphasize that neither software is better or worse. But you may have a preference for one over the other.
Feel free to comment and let me know which version you prefer.
☕ If you found this helpful you can say “thanks” by buying me a coffee…
https://www.buymeacoffee.com/gentlefrog
If you’d like to watch me walk you through this comparison check out the video below:

