In this tutorial, I’ll give you a quick overview of the Account and settings section of QuickBooks Online.
The sample file I’m using is QuickBooks Plus. If you have a different version of QuickBooks Online your Account and settings may look a little different.
If you have any questions drop them in the comments at the bottom of this page.
Navigating to Account and settings
To get to the Account and settings section click the gear icon in the upper right-hand corner.
Then select Account and settings under YOUR COMPANY.
Company
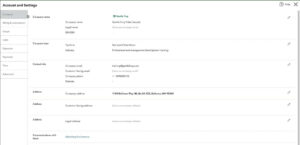
When you open Account and settings you’ll be in the Company section.
Within Company you can add/edit:
- Company logo
- Company/Legal name
- EIN/SSN
- Tax form
- Industry
- Contact Information
Billing & Subscription
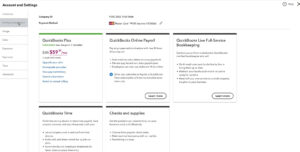
Billing & Subscription shows you the version of QuickBooks Online that you’re using.
From here you can upgrade or downgrade to a different version of QuickBooks.
You can also:
- Subscribe to Payroll
- Get Full-Service Bookkeeping
- Turn on QuickBooks Time
- Order Checks and supplies
Usage
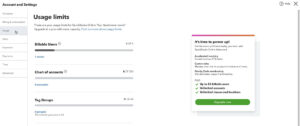
There are usage limits in QuickBooks Online. These will be different depending on the version you’re using. In this example I’m using QuickBooks Online Plus:
If you find yourself getting close to your usage limits you can always upgrade to a different version.
Sales
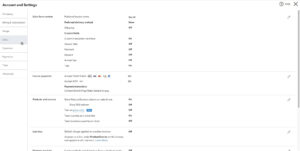
Sales is where you can edit settings related to sales of products/services within QuickBooks this includes:
- Sales form content
- Invoice terms
- Preferred delivery method
- Shipping
- Custom transaction numbers
- Service date
- Discount
- Deposit
- Accept tips
- Tags
- Invoice payments
- Credit Cards
- ACH
- Payment instructions
- Products and services
- Show on sales forms
- Show SKU column
- Price rules
- Track quantity and price/rate
- Track inventory quantity on hand
- Show on sales forms
- Late fees
- Progress Invoicing
- Messages
- Reminders
- Online delivery
- Statements
There’s a lot in here. If there’s anything you’d like to see a video or blog post on let me know in the comments.
Expenses
This section lets you edit settings related to bills, expenses, and purchase orders.
- Show items table on expense and purchase forms
- Show tags field on expenses and purchase forms
- Track expenses and items by customer
- Make expenses and items billable
- Use purchase orders
- Default email and message sent with purchase orders
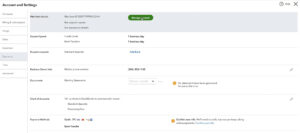
Payments
This section is for QuickBooks Payments settings.
QuickBooks Payments is an Intuit service that allows you to accept payments through QuickBooks.
When you click on the green Manage account button it will take you to the Intuit Payment portal.
This is important to know. If you use Intuit Payment deposits into your bank account it will often say it’s from “Intuit Payment.”
But, when you go into the portal you can see who the payment was actually from.
Time
This section is for QuickBooks Time settings.
This is a separate QuickBooks application that you have to pay for. It’s different than the free time tracker built into QuickBooks Online.
In my sample QuickBooks it has a button for checking pricing because I don’t have this turned on.
Advanced
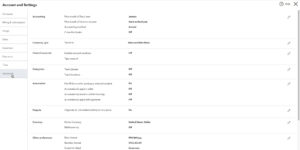
This section includes all the “advanced” settings. From here you can edit settings for:
- Accounting
- Chart of Accounts
- Categories
- Automation
- Projects
- Currency
- Other preferences
You’ve now seen what’s in the Account and settings section of QuickBooks Online.
When you’ve edited your settings you can click the green Done button in the lower right-hand corner.
If there’s anything in the Account and settings that you have questions about. Leave a comment below and I’ll make a quick video and blog post about it.
☕ If you found this helpful you can say “thanks” by buying me a coffee…
https://www.buymeacoffee.com/gentlefrog
Below is a video if you prefer to watch a walkthrough.
If you have any questions about any of these settings, leave a comment below or click the green button below to schedule a free consultation.


