In this tutorial, I’ll explain three ways you can enter income into QuickBooks Online:
- Manually Recording a Deposit
- Sales Receipt
- Invoicing
It can be confusing to know which one you should use.
It all depends on what information you want QuickBooks to provide back to you later.
For example, let’s say you sell ice cream at the farmer’s market. You won’t need to record every single transaction. You’ll want to know how much money you collected selling ice cream each day.
If you provide services like repairs, consulting, or coaching you’ll want more detail. Like who you’ve been working with, what you’ve sold them, and if they owe you any money.
I’m going to show you three different ways you can do this and provide examples for each one.
Manually Recording a Deposit
Let me show you how to record a deposit the manual way using the ice cream vendor as an example.
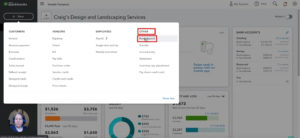
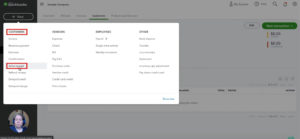
Click on the quick create button in the upper left-hand corner. Then click Bank Deposit in the OTHER column.
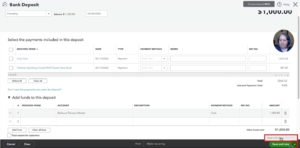
First, you’ll need to select the account to deposit the money into. For this example, I’ll be using a checking account.
Select the date of the deposit.
In the “Add funds to this deposit” section I’m going to select Bellevue Farmer’s Market for both the “Received From” and Account” fields. For this type of vendor you’d want to create a different income account for each Farmers Market you sell at.
In the “Payment Method” field I’ll select cash. Then I’ll enter the amount, $1,000 for this example, and then click the green Save and close button.
In this example, I’ve deposited money made at the Bellevue Farmer’s Market. I did this as one deposit instead of creating a separate deposit for each transaction.
Let me show you where you can and cannot see this type of deposit on reports.
First, we’ll look at the Profit and Loss report.
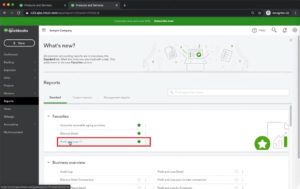
To view this report click on Reports in the left-hand menu then click “Profit and Loss.”
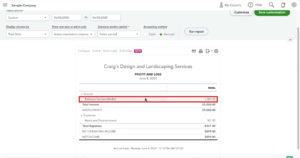
You can see the deposit from the Bellevue Farmer’s Market appears under Income.
Sales Receipts
A sales receipt is another type of deposit that logs the customer and the item you’ve sold them.
To create a sales receipt click on the “+ New” button in the upper left-hand corner. Then click Sales Receipt in the Customers column.
For this example, I’ll use a car company, Cool Cars, as my customer.
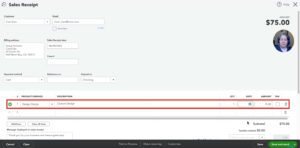
First, select how you were paid (cash) and the account the money was deposited into (checking).
Under Product/Service you’ll enter what you sold them. For this example, I’ve picked Design services and enter a description of “Custom Design.” For qty, I’ll enter one with a rate fo $75.
I’ll then click the drop-down arrow on the Save and send button and select “Save and close.” Since I don’t want to send a receipt.
Because I created a sales receipt I’m able to view a customer in QuickBooks and see everything I’ve sold them.
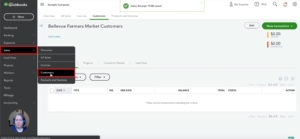
Let me show you how to do this. First, click Sales in the left-hand menu and then select Customers.
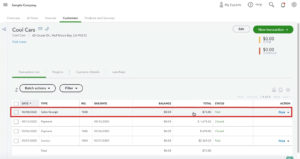
When I search for Cool Cars I can see a list of transactions I’ve had with them. Including the sales receipt I just created.
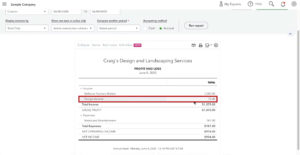
Sales receipts also show up in the profit and loss report. Here you can see the Design income from Cool Cars:
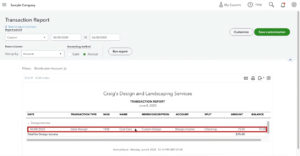
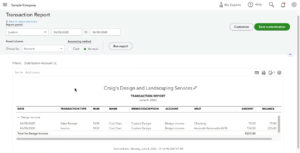
If I click on Design income it brings up the Transaction Report. This report shows me the details for the transaction.
The advantage of creating a sales receipt is that it allows you to have additional information with the sale. Such as who you sold it to and what you sold.
Creating a sales receipt allows you to pull up reports later. These reports can tell you how much of your income is from a certain customer or product.
Invoicing
The final way to record income in QuickBooks that I’m going to explain here is invoicing.
Use an invoice whenever a customer would like a bill that they can pay later.
This allows you to track who owes you money.
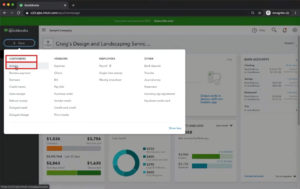
To create an invoice click on the quick create button in the upper left corner. Then select Invoice in the CUSTOMERS column.
You’ll select the customer the invoice is for, the date of the invoice, and the terms you’ll be giving them. Then enter the product, how much of that product you sold, and the rate.
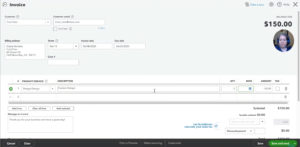
Here I’ve entered an invoice for two fo the Custom Design services for Cool Cars with Net 15 terms.
Notice there’s no payment information. This is because the customer hasn’t paid yet.
If I view the Transaction Report now I can see both the sales receipt and the invoice.
The difference between the sales and receipt and the invoice is that the sales receipt lets you know the money has been collected. An invoice lets you know the money will be collected at a later date.
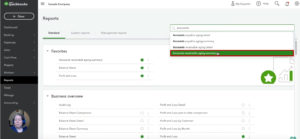
To view who owes you money click Reports in the left-hand menu. Then search for the Accounts receivable aging summary.
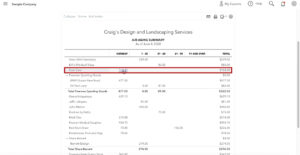
In this report, I can see Cool Cars currently owes me $150.
There are several ways to mark this invoice as paid. In this tutorial I’ll show you one of those ways.
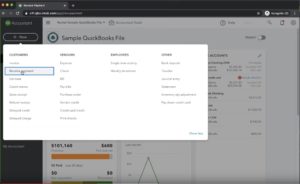
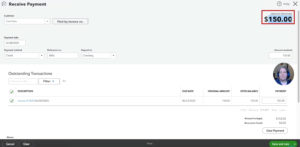
Click the quick create button in the upper left-hand corner. Then select Receive payment in the CUSTOMERS column.
Enter the customer who’s paying you, the payment method, a reference number if applicable, and what account the money is getting deposited into.
Under Outstanding Transactions, you’ll see a list of open invoices. Check off which ones they’re paying and you’ll see the Amount Received change.
If I view the Accounts receivable aging summary report I won’t see Cool Cars. This is because they’ve paid their bill and no longer have an outstanding invoice.
I don’t want to see you enter an invoice or sales receipt for someone and then enter their payment as a deposit.
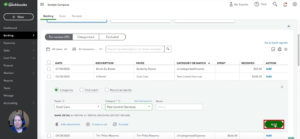
You’re likely to do this by mistake if you’re viewing transactions in Banking. If you see a payment that you know is for a sales receipt or invoice do NOT click the Add button.
If you created a sales receipt you’ll match the deposit with the sales receipt.
If you created an invoice you’ll receive the payment. Then match that transaction with the received invoice payment.
Now you know the difference between a sales receipt, invoice, and deposit in QuickBooks Online.
☕ If you found this helpful you can say “thanks” by buying me a coffee…
https://www.buymeacoffee.com/gentlefrog
If you’d like to watch me walk through this process check out the videos below.



2 Responses
Thank you so much for this article. I will remove the auto rule add on my deposit thanks to this article. I wasn’t sure how they connected as my deposits are from ebay automatically. Thank you for your article.
Hi Raven, thanks for the kind words. We’re happy to hear this article helped you better understand how to enter your eBay deposits in QuickBooks 🙂