A vendor is a company or person that you buy from. It can also be referred to as a supplier.
QuickBooks Online provides you with an easy way to manage your vendors using the Vendor List. In this introduction to the Vendor List you’ll learn how to review vendor transaction history, customize vendor details, and use features like internal notes.
Vendor List Overview
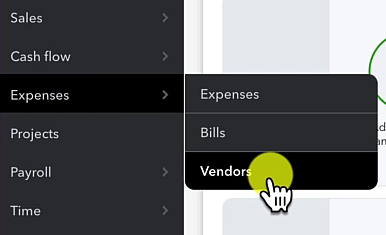
First, let’s navigate to the Vendor List. To do this click Expenses in the left side menu then click Vendors.
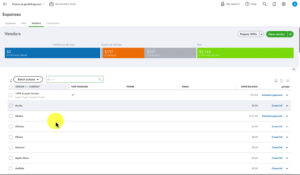
Here is what the Vendors list looks like:
Across the top of the screen you’ll see a colorful ribbon. This shows at a glance how much money you have in…
- Unbilled Purchase Orders
- Overdue Bills
- Open Bills
- Paid Bills
Below the ribbon is your Vendor List.
On the left is the VENDOR / COMPANY name. I like my list to be sorted by Vendor but you can change the sort by clicking the word Vendor or Customer.
1099 TRACKING will have a check mark if you’re tracking that vendor for 1099s.
OPEN BALANCE, this is the amount of money you owe the vendor.
Under ACTION you have the various actions you can take like Schedule payments, Create bill, or Create expense.
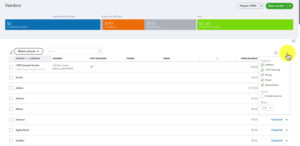
You can add or subtract columns in the list by clicking the gear to the upper right. Then check off the columns you want to view.
Vendor Transactions / Details
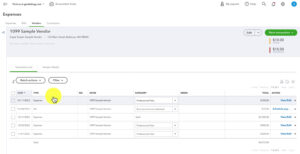
If you want to customize a vendor or see their transaction history you can click on their name.
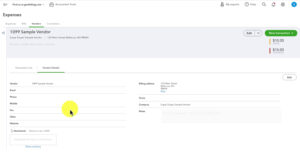
This opens up a screen for that vendor with two tabs, the Transaction List and Vendor Details.
Transaction List shows you all your expenses, bills, etc. associated with that vendor.
Vendor Details shows you the details behind the scenes for your vendor.
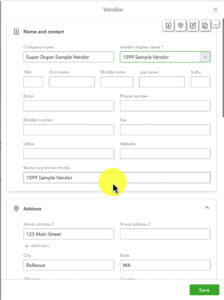
You can edit any of your vendor details by clicking the edit button to the right on the Vendor Details tab. Or, clicking the Edit to the right of the vendor’s name. This will open the Vendor editing screen.
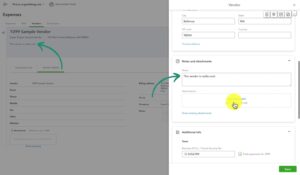
From this screen you can edit any of the vendor detail information. You can also add notes. These are internal notes that the vendor will never see. They show up under the vendor’s screen under the name and address.
When you’re done editing click the green Save button.
Print / Export / Import Vendor Lists
You can print your vendor list by clicking the print icon. Or export your vendor list as a PDF or Excel file by clicking the export icon. Both of these are to the right above the ACTION column.
If you have an Excel file list of vendors you’d like to upload I have a video showing you how to do that: How to Upload Vendor Data to QuickBooks Online from an Excel File
That’s the basics of the QuickBooks Online vendor list.
☕ If you found this helpful you can say “thanks” by buying me a coffee… https://www.buymeacoffee.com/gentlefrog
Below is a video if you prefer to watch a walkthrough.
If you have questions about the Vendor List in QuickBooks Online click the green button below to schedule a free consultation.

