In this tutorial, I’ll show you how to add items to QuickBooks Desktop.
Quick Instructions:
- Click Lists -> Item List in the main menu
- to add single items click Items -> New
- Select the item Type
- Enter Name/Number
- Add a Description
- Enter a Rate (if applicable)
- Select Account
- Click the blue OK button
- To create multiple items Click Lists -> Add/Edit Multiple Items in the main menu
- Enter items into the list
- Click the blue Save Changes button
- to add single items click Items -> New
Keep reading for full instructions with screenshots.
The items in QuickBooks Desktop are anything your company buys, sells, or resells.
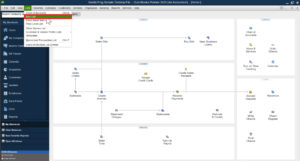
To navigate to your item list click Lists in the top menu then select Item List.
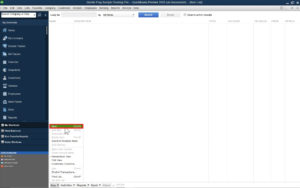
In this example, I don’t have any items created yet.
Create Single Items
To create an item select the Item drop-down menu at the bottom of the screen. Then select New.
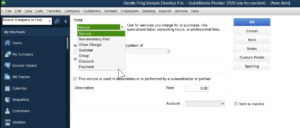
On the next screen, you’ll select the type of item you’ll be creating. These include:
- Service
- Non-inventory Part
- Other Charge
- Subtotal
- Group
- Discount
- Payment
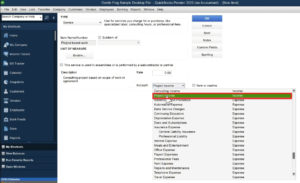
In this example, I’m going to create a Service item.
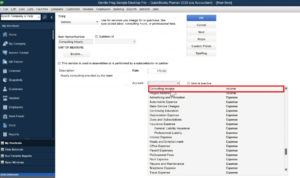
Next, you’ll enter the items information.
The Name/Number is what you’ll see in the drop-down when adding an item to an invoice or receipt.
In the Description field, you can write a long description of the item.
Rate is how much this service costs per hour.
Account is what income or expense account the item is linked to. The item I’m creating is “Consulting Hourly” so I attach it to the Consulting Income account.
When you’re finished click the blue OK button.
I’ll create a new Service item that’s for project-based work.
This item’s rate will vary based on the work that’s done. I’ll leave Rate blank here. The rate will be entered when I create an invoice using this item.
I’ll attach this item to the Project Income account.
As you create items you’ll see them added to your list of items.
Create Multiple Items
You can also create multiple items at once. To do this click the Lists drop-down and select Add/Edit Multiple Items.
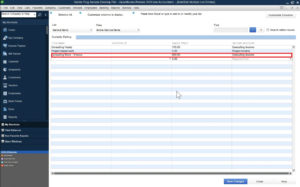
This will bring up a list of items (by Type). You simply edit the fields in a line in the list to add items. Then click the blue Save Changes button at the bottom of the screen when you’re done.
Here I’ve added a third Service item:
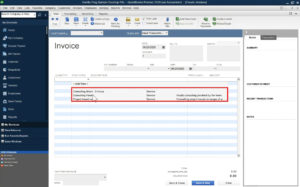
When you’ve added your items into QuickBooks you’ll now be able to see them in the Item Code drop-down when you create an invoice.
You now know how to add items to QuickBooks Desktop. If you have any questions please ask them in the comments. Or click the green button below to schedule a free consultation.
☕ If you found this helpful you can say “thanks” by buying me a coffee…
https://www.buymeacoffee.com/gentlefrog
If you’d like to watch me walk through this process check out the video below:

