In this tutorial, I’ll show you how to add a Standard user to QuickBooks Online.
If you need to add an Accountant user check out the blog post How to Add An Accountant User to QuickBooks Online.
Quick Instructions:
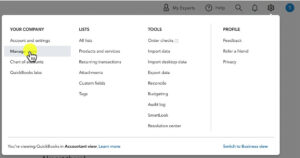
- Click the gear icon in the upper right corner
- Under YOUR COMPANY click Manage users
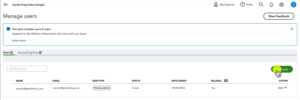
- In the Users tab click the green Add user button
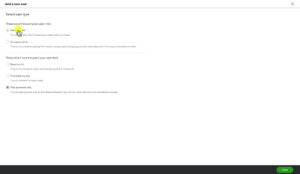
- Select Standard user, click Next
- Select the Access rights you’d like your user to have, click Next
- Select Time tracking settings you’d like your user to have, click next
- Select the User settings you’d like your user to have, click next
- Enter the user’s contact information, click Save
Keep reading for a complete walkthrough with screenshots:
Add a Standard User to QBO
From any page in QBO click on the gear in the upper right-hand corner.
Under YOUR COMPANY click on Manage users.
When the Manage users screen opens you’ll see two tabs, Users and Accounting firms. You want to be in Users.
Click the green Add user button to the right.
The Add a new user screen will open with the different types of users you can add.
Both Standard and Company admin users count toward your QuickBooks Online user limit.
The number of users you can add is dependent on your QBO account type. I’m using QBO Plus which has a 5 user limit.
You can also add users with very limited access who don’t count toward your user limit. These are:
- Reports only: Can only view reports (except ones that show payroll or contact info)
- Time tracking only: can only add their own time sheets
- Take payments only: can take payments with the QB GoPayment app.
In this tutorial, we’re adding a Standard user.
Select Standard user and click the green Next button in the bottom right corner.
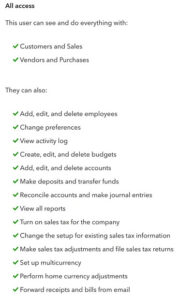
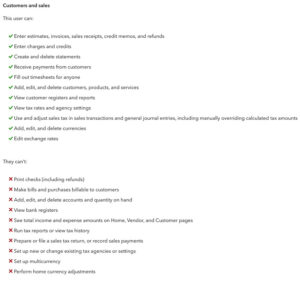
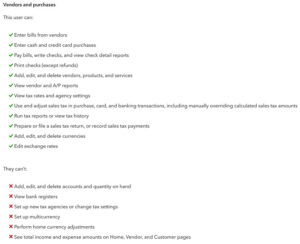
Now you can select the access rights to give the Standard user.
- All: Gives full access.

- None: No access to accounting features

- Limited Access – Customers: Only has access to customer and sales related things

- Limited Access – Vendors: Only has access to vendors and purchases related things

I give my make-believe user limited access to vendors and click the green Next button to continue.
There are a few more settings options.
Like Time tracking settings where you can select if the user needs to submit time sheets.
I’m selecting No and clicking the green Next button to continue.
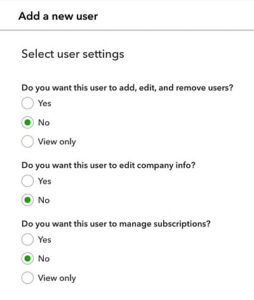
Next, is user settings. This includes a few more yes/no options.
Select what’s appropriate for the user you’re adding and click Next.
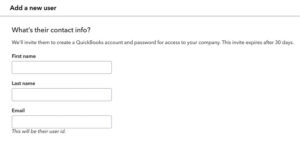
The next screen is the user’s contact information.
This is pretty straight forward. Pay attention to that note below Email: This will be their user id.
Enter the new user’s information and click the green Save button in the lower right corner.
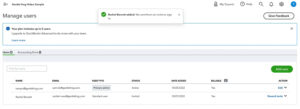
You’re now back at the Manage users screen where you’ll see your new user.
The new user will receive an email invite. If they miss the invite you can also click the blue Resend invite link to the right to send them a new invitation email.
That’s it! You now know how to add a Standard user to QuickBooks Online.
Need to add an Accountant user? Check out the blog post How to Add An Accountant User to QuickBooks Online.
☕ If you found this helpful you can say “thanks” by buying me a coffee…
https://www.buymeacoffee.com/gentlefrog
Below is a video if you prefer to watch a walkthrough.
If you have any questions about adding users to QuickBooks Online click the green button below to schedule a free consultation.

