Uploading bank statements to QuickBooks Online (QBO) can help you maintain accurate financial records.
However, mistakes happen—you might upload the wrong bank statement or realize a mismatch after the fact.
This quick guide will walk you through the steps to delete an incorrectly uploaded bank statement in QBO.
Quick Instructions:
- Navigate to the Reconcile screen
- Click the History by account link on the right
- Click Attachments for the correct reconciliation
- Click the trash can icon on the right
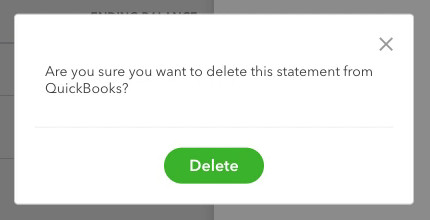
- Click Delete on the pop-up
- Click Done
Keep reading for a complete walkthrough with screenshots:
Steps to Remove an Uploaded Bank Statement in QuickBooks Online
To begin, navigate to the Reconcile screen.
There are several ways to get there. An easy way to get there from most pages within QBO is to click the gear in the upper right corner. Then click Reconcile in the TOOLS column.
On the Reconcile screen, click the History by account link on the right.
Here, you’ll see a list of the reconciliation reports for the selected account.
The STATEMENTS column will have a paperclip icon if a reconciliation has a statement attached.
Clicking on the Attachments link for a report opens a pop-out that shows you a list of attached documents. You can click on the file name to open and double-check before clicking the trash can icon on the right to delete the file.
A pop-up asks if you’re sure you want to delete the statement. Click Delete to continue.
Mistakenly uploading the wrong bank statement can happen, but removing it is straightforward.
Follow the steps outlined above to delete and replace the incorrect file with the correct one to maintain clean and accurate records.
If you’d like to see a walkthrough scroll down for the video version.
☕ If you found this helpful, you can say “thanks” by buying me a coffee… https://www.buymeacoffee.com/gentlefrog
If you have questions about bookkeeping with QuickBooks Online, click the green button below to schedule a free consultation.


