walkthrough. In that post, I created an account, checked things out, and compared it to other versions of QuickBooks Online.
Creating a QuickBooks Ledger Account for a Rental Property
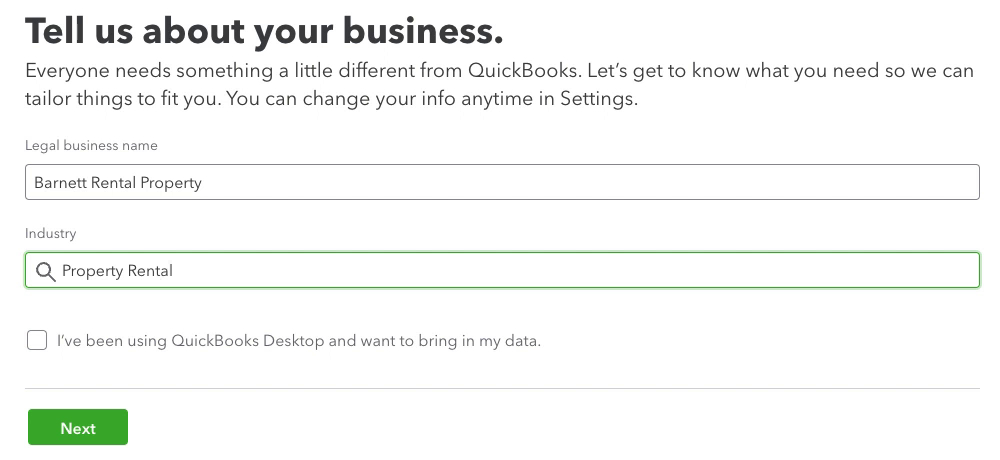
The first step when creating a new Ledger account is to enter your business name and industry.
I was unable to find anything in the Industry drop-down that I liked. If this happens to you, type in whatever you like and then select “Can’t find an industry that fits? Use ‘X'”
X will be what you typed in. In my case, I used Property Rental.
The Industry is not important.
When ready click Next.
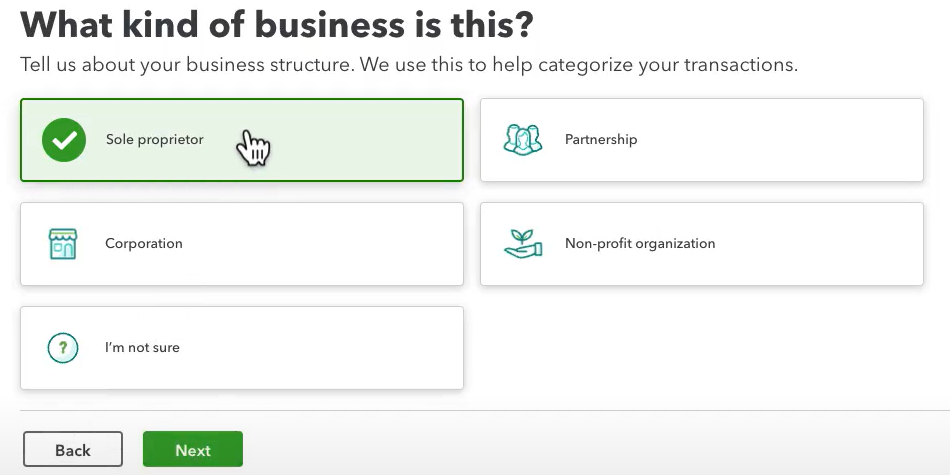
My husband and I own the rental property together, but it’s not a partnership. Sole proprietor is the best fit.
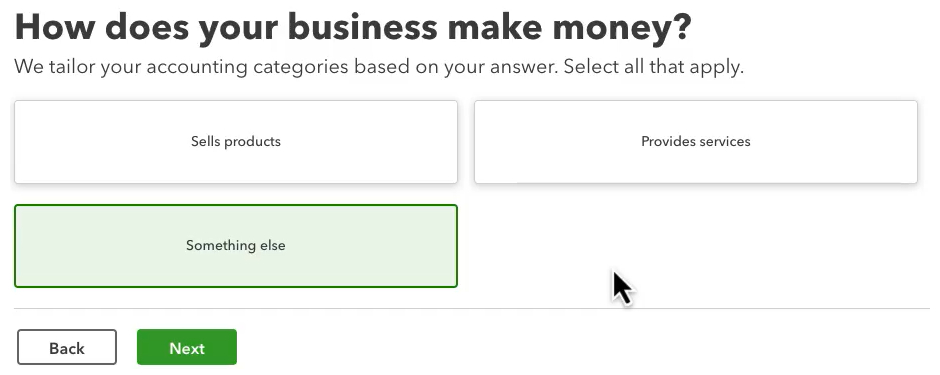
The business makes money through rentals. I select “Something else.”
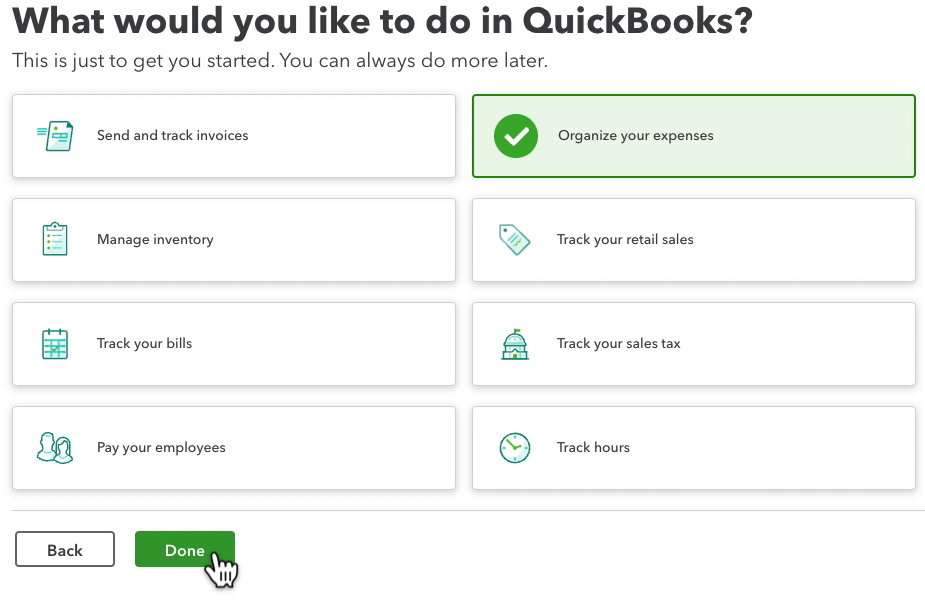
This is the final setup question. You can set any of these up later no matter what you select.
Create Accounts
Now that the account is set up I need to create a checking and an income account.
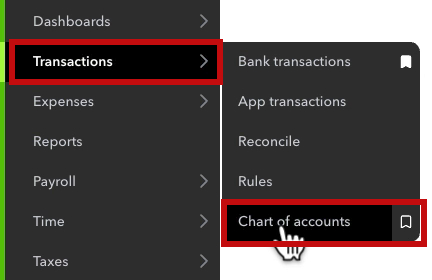
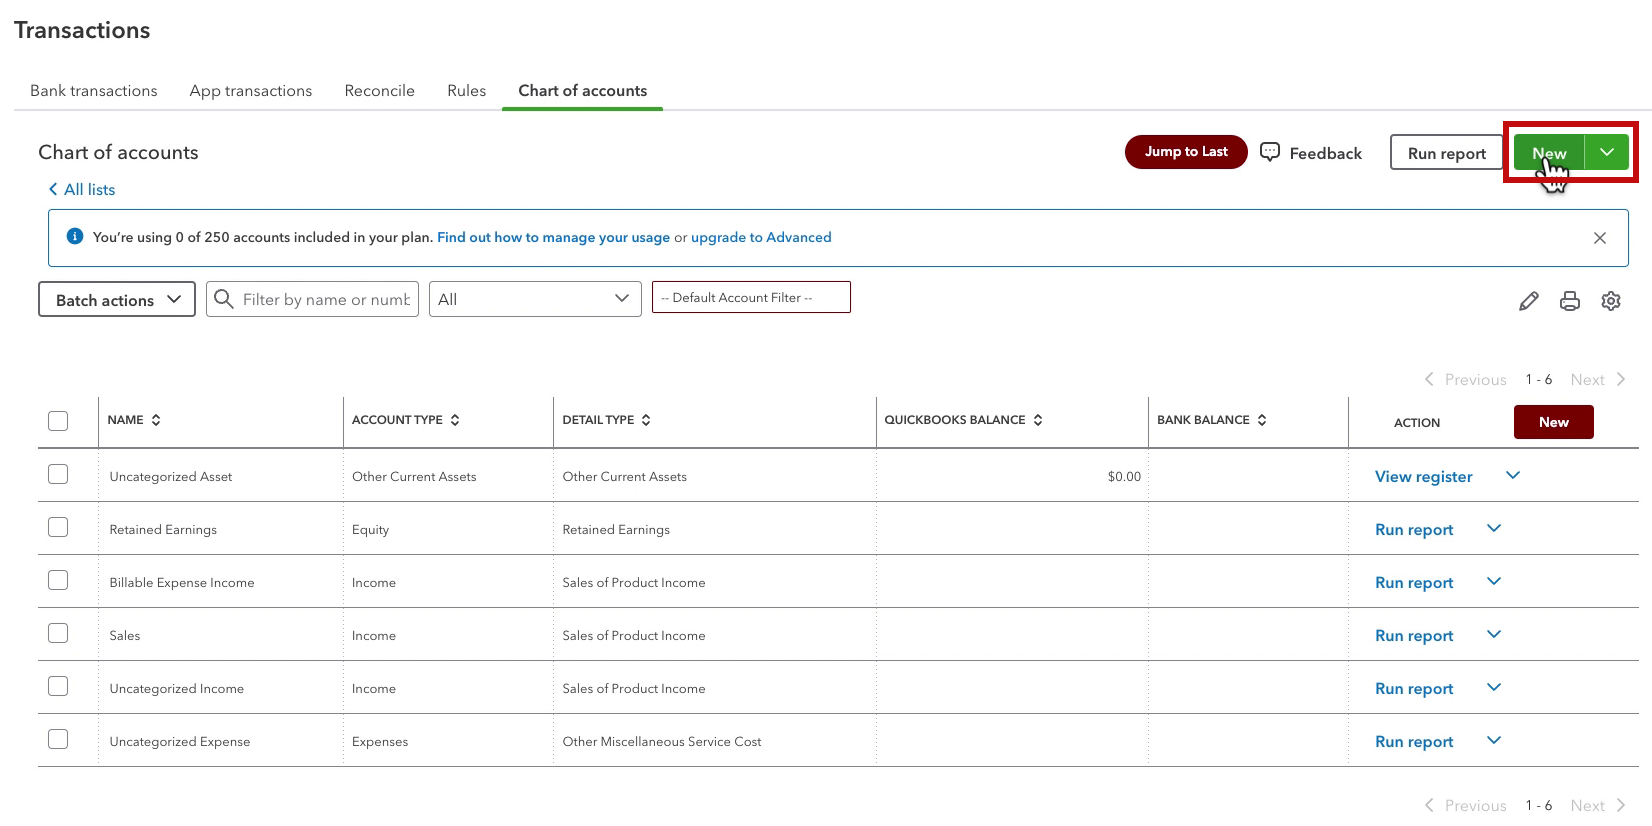
To do this click Transactions in the left side menu then select Chart of accounts.
Click the green New button in the upper right.
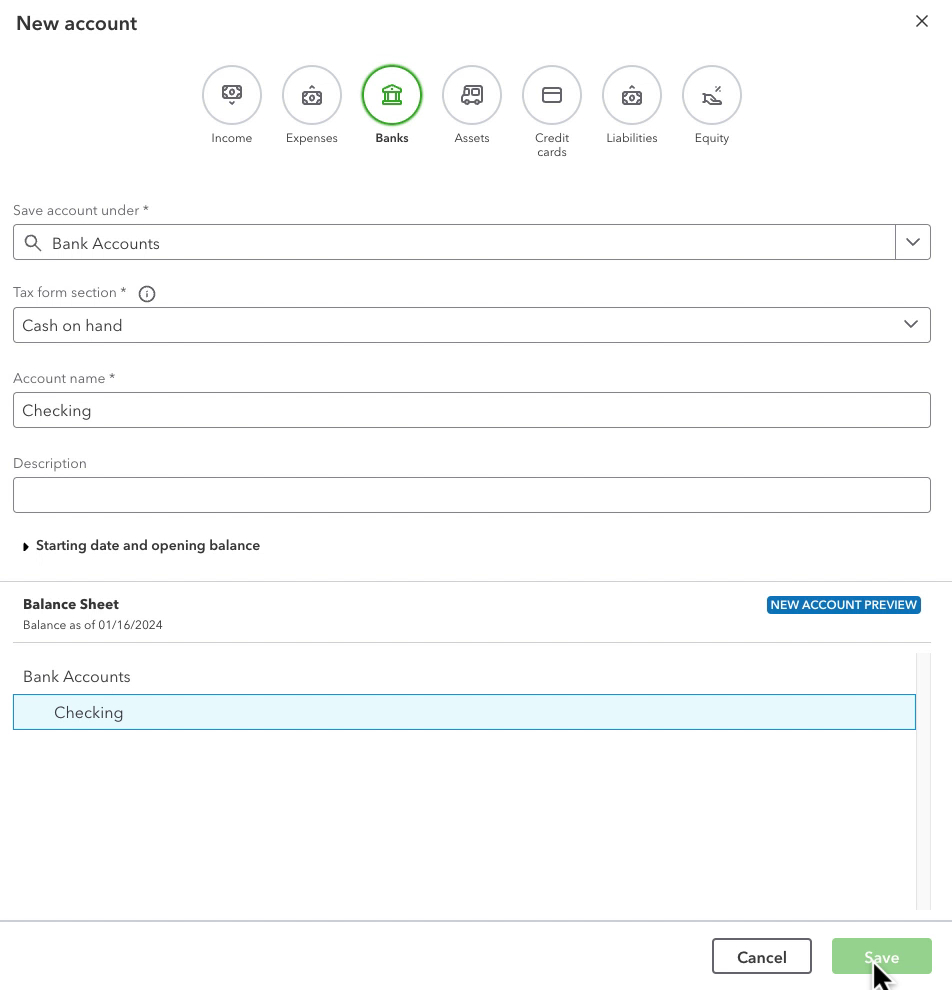
First I’ll create the Checking account.
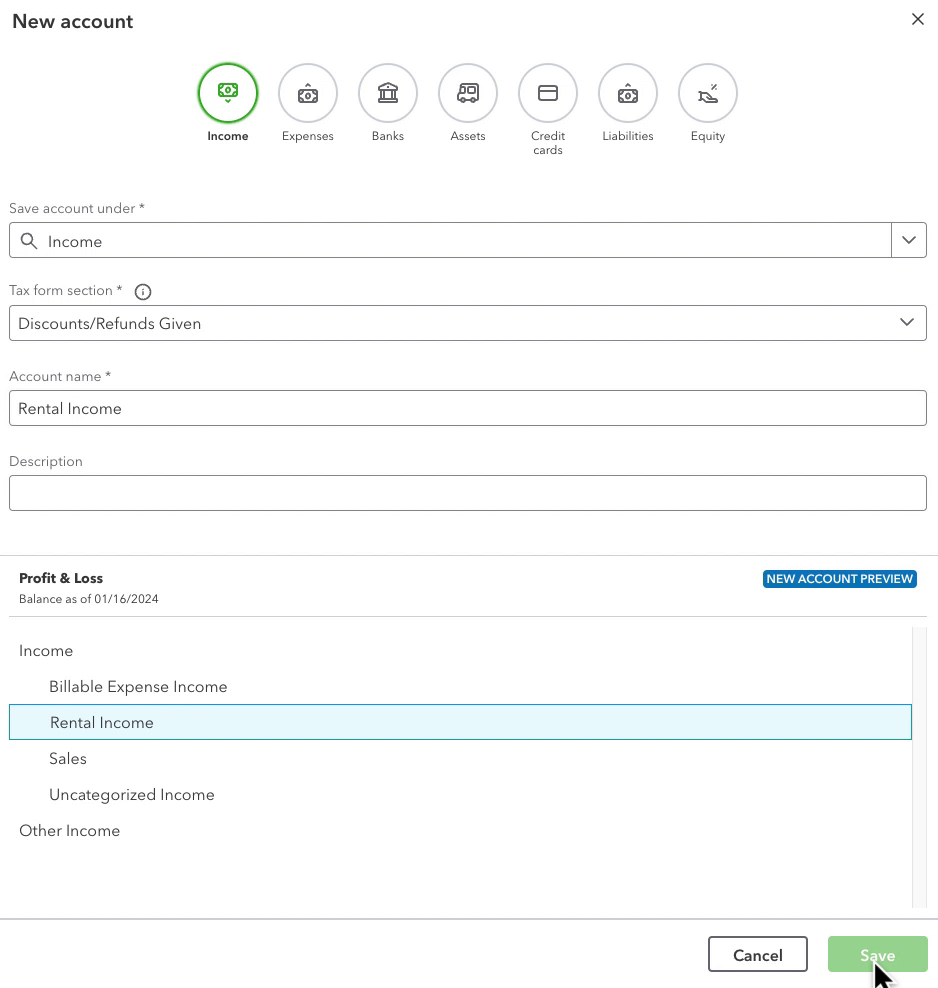
Next, I create a Rental Income account.
Now I can import income transactions into QuickBooks Ledger.
Connect SaasAnt
Now that I created my Ledger account I want to connect SaasAnt and import data.
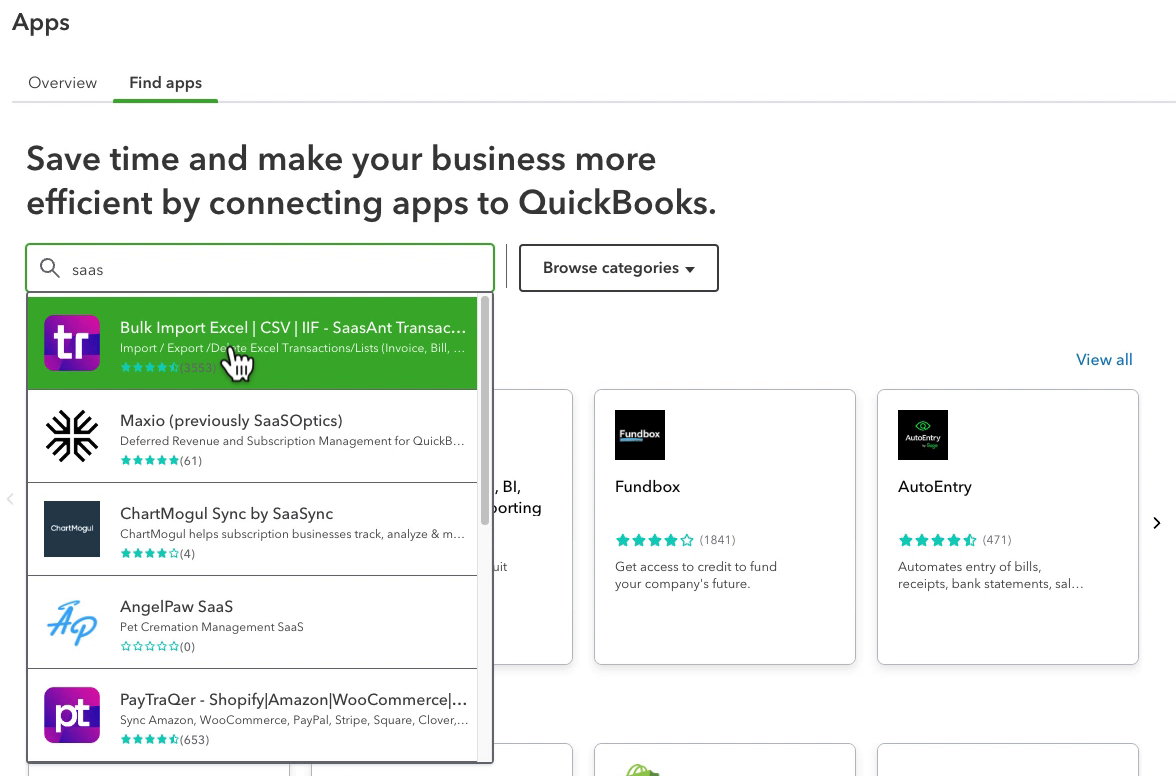
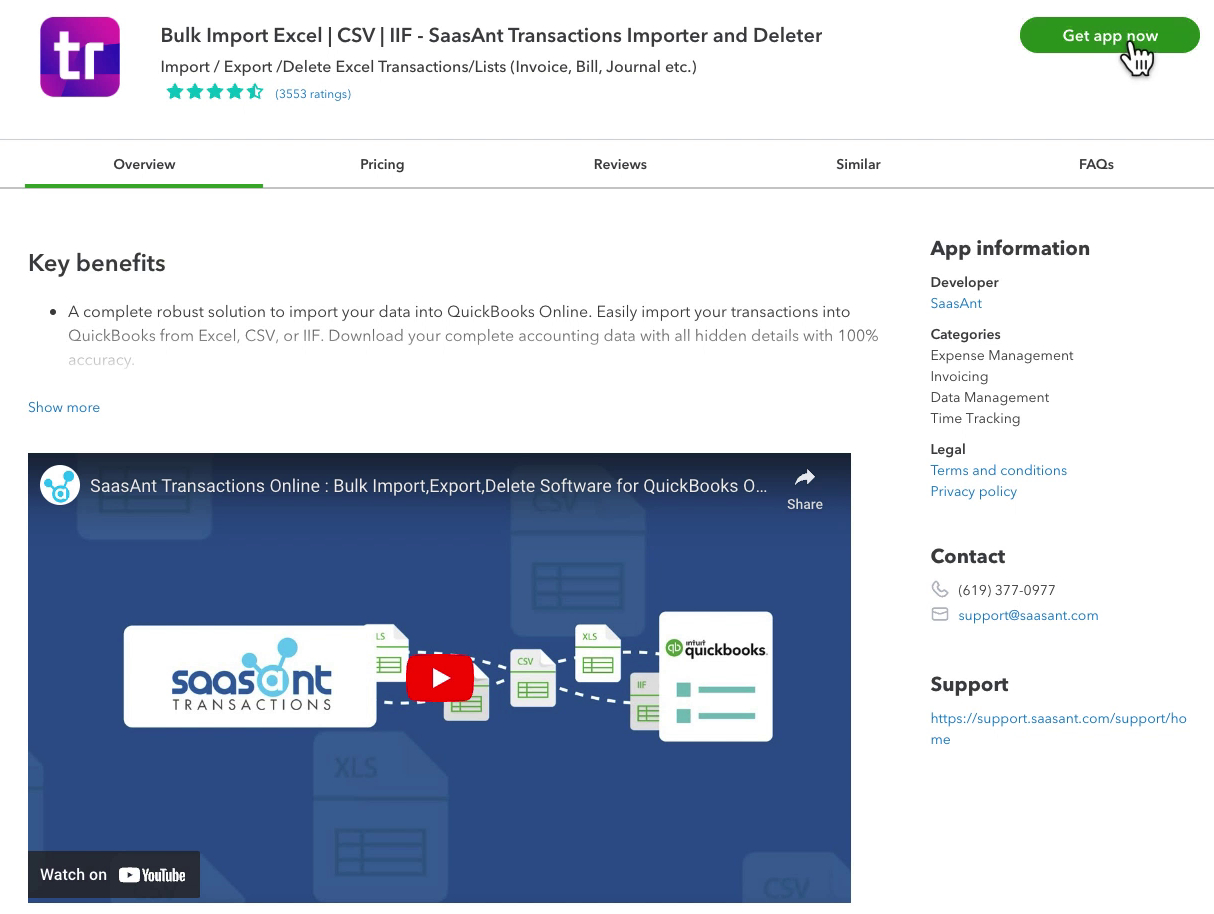
To do this click Apps in the left side menu. Then select Find Apps.
Search for the app you want to connect. In this case, SaasAnt.
Click the Get app now button in the upper right.
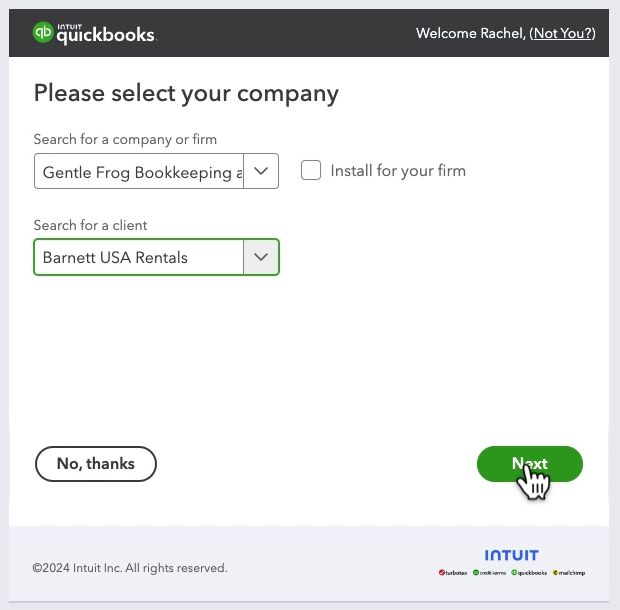
This takes you to the App Center. I’m logging in as an accountant user so it asks me which accounting firm I want. Then which client.
Import Data
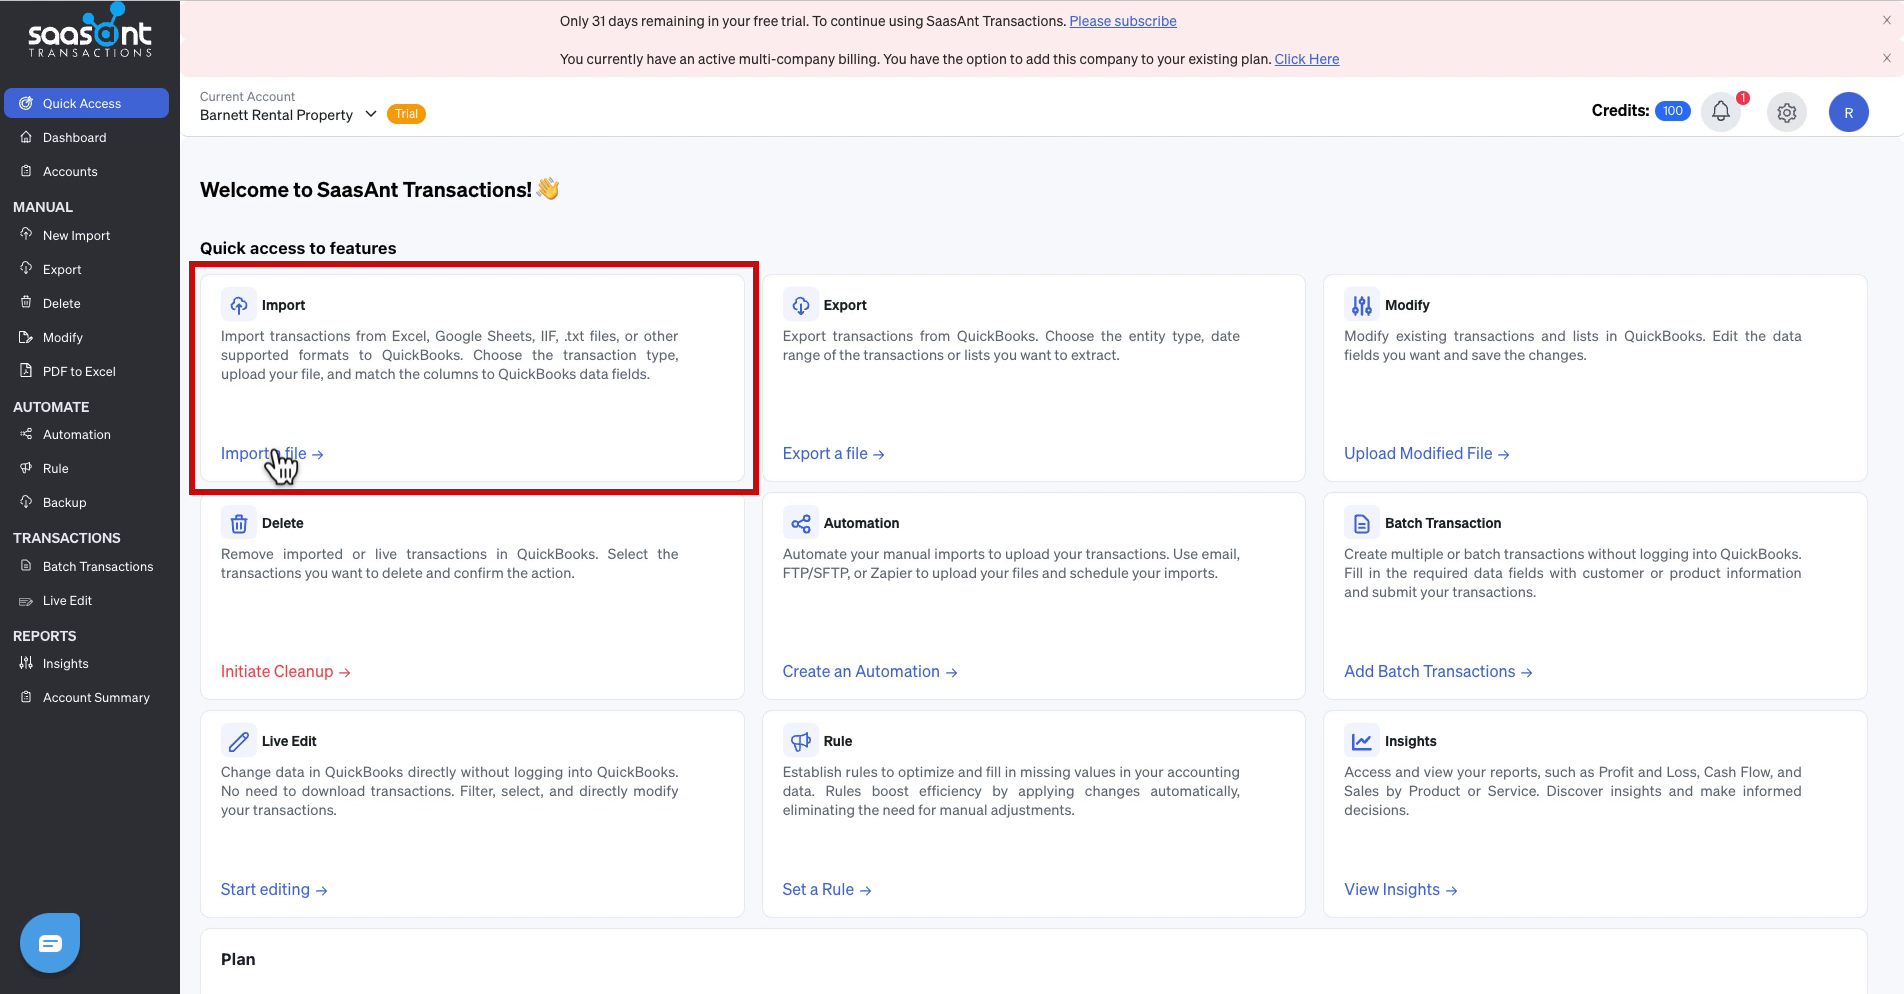
Once I’m logged into SaasAnt I click Import on the home screen.
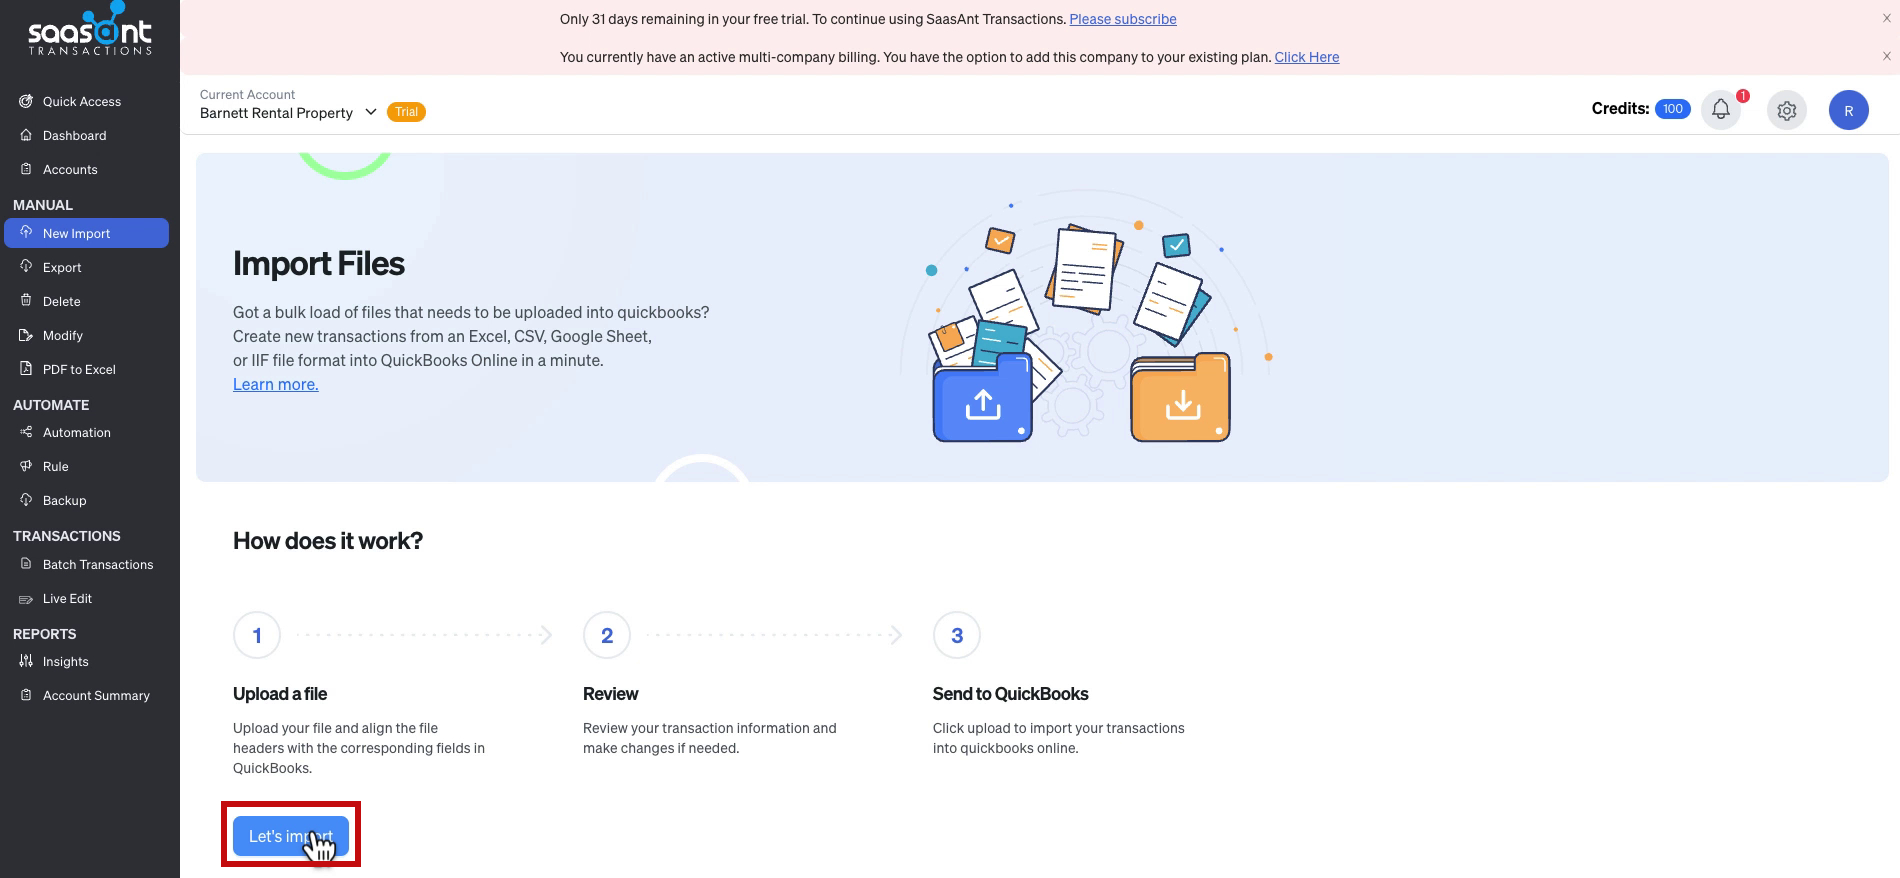
On the Import Files screen click the Let’s import button.
SaasAnt the option to import lots of different types of transactions.
I want to import my business income.
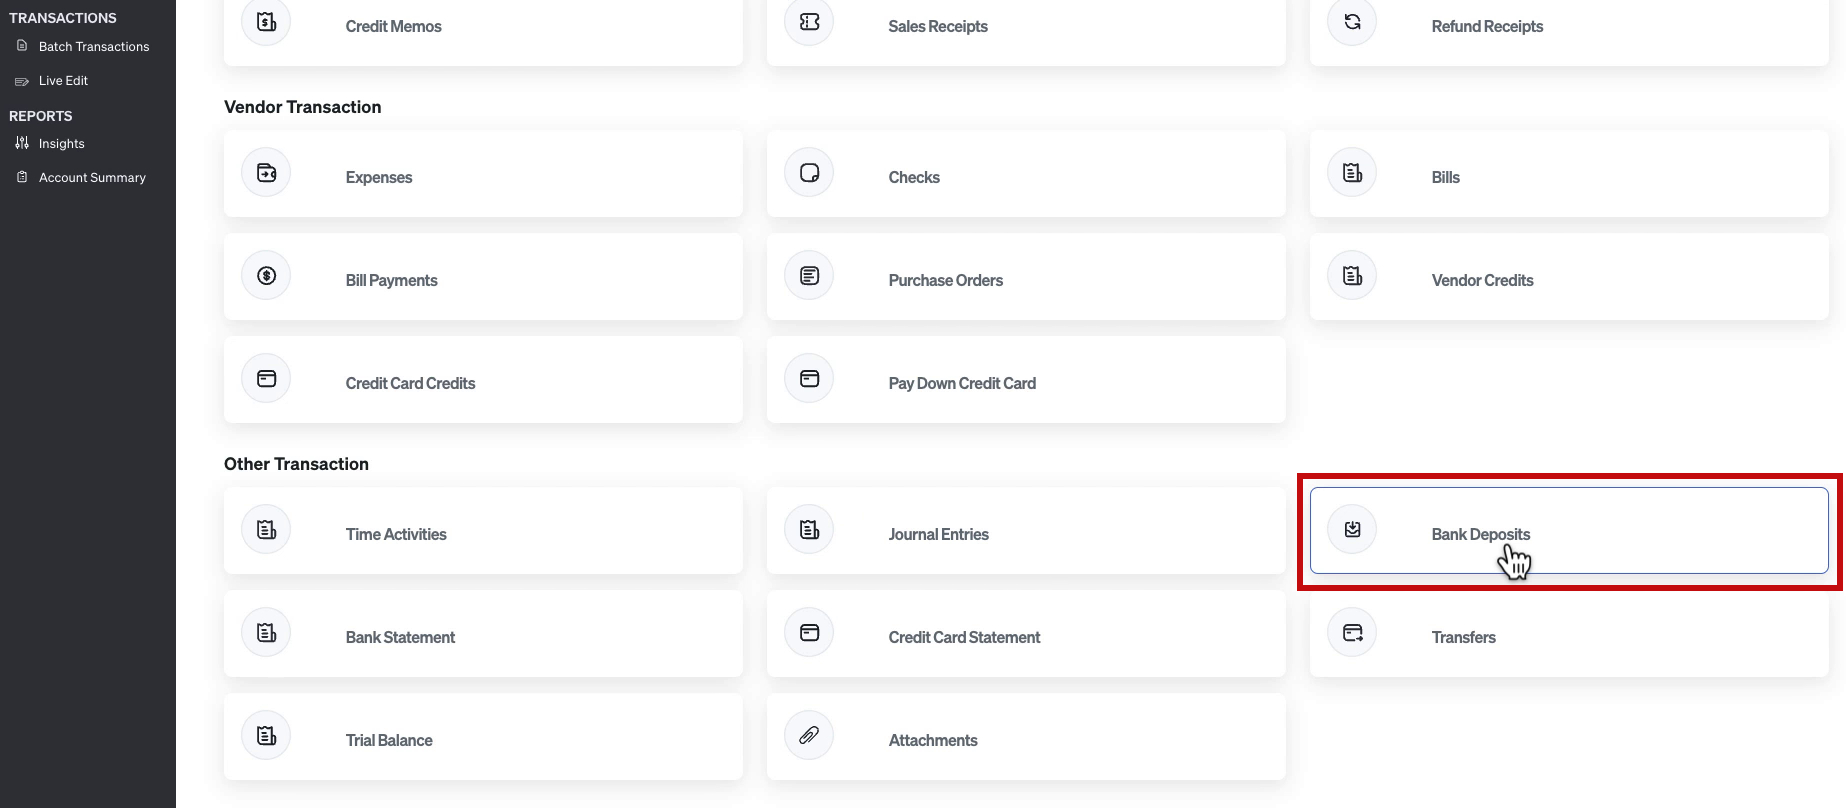
QuickBooks Ledger does not have invoices so I need to import the income as deposits.
Bank Deposits are in the Other Transaction section of SaasAnt.
Upload Files
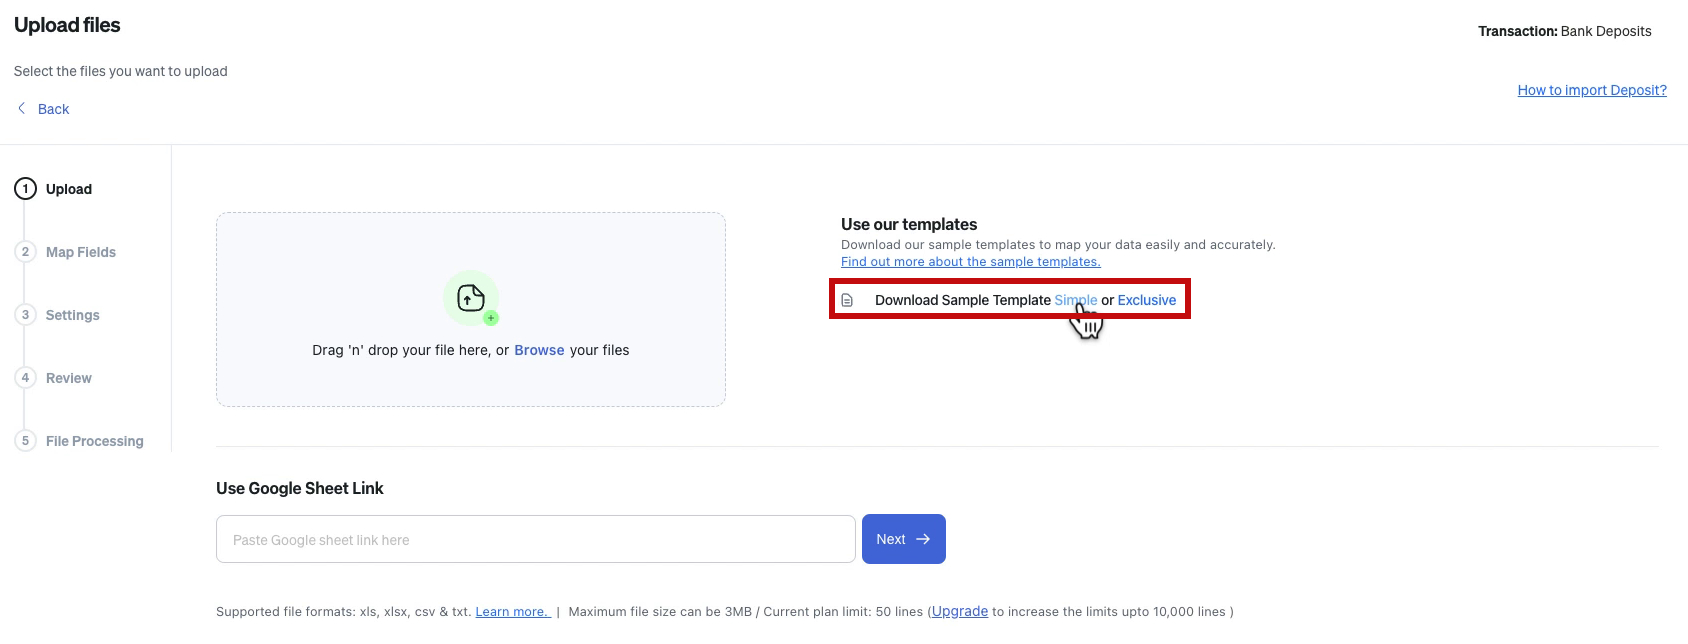
I don’t have a file ready. What I’m going to do is download the sample template.
I’ll add a few transactions to the template filling in:
- Date
- Deposit To
- Line Account (Income account on the chart of accounts)
- Line Amount
Now I can browse to my file to import the transactions.
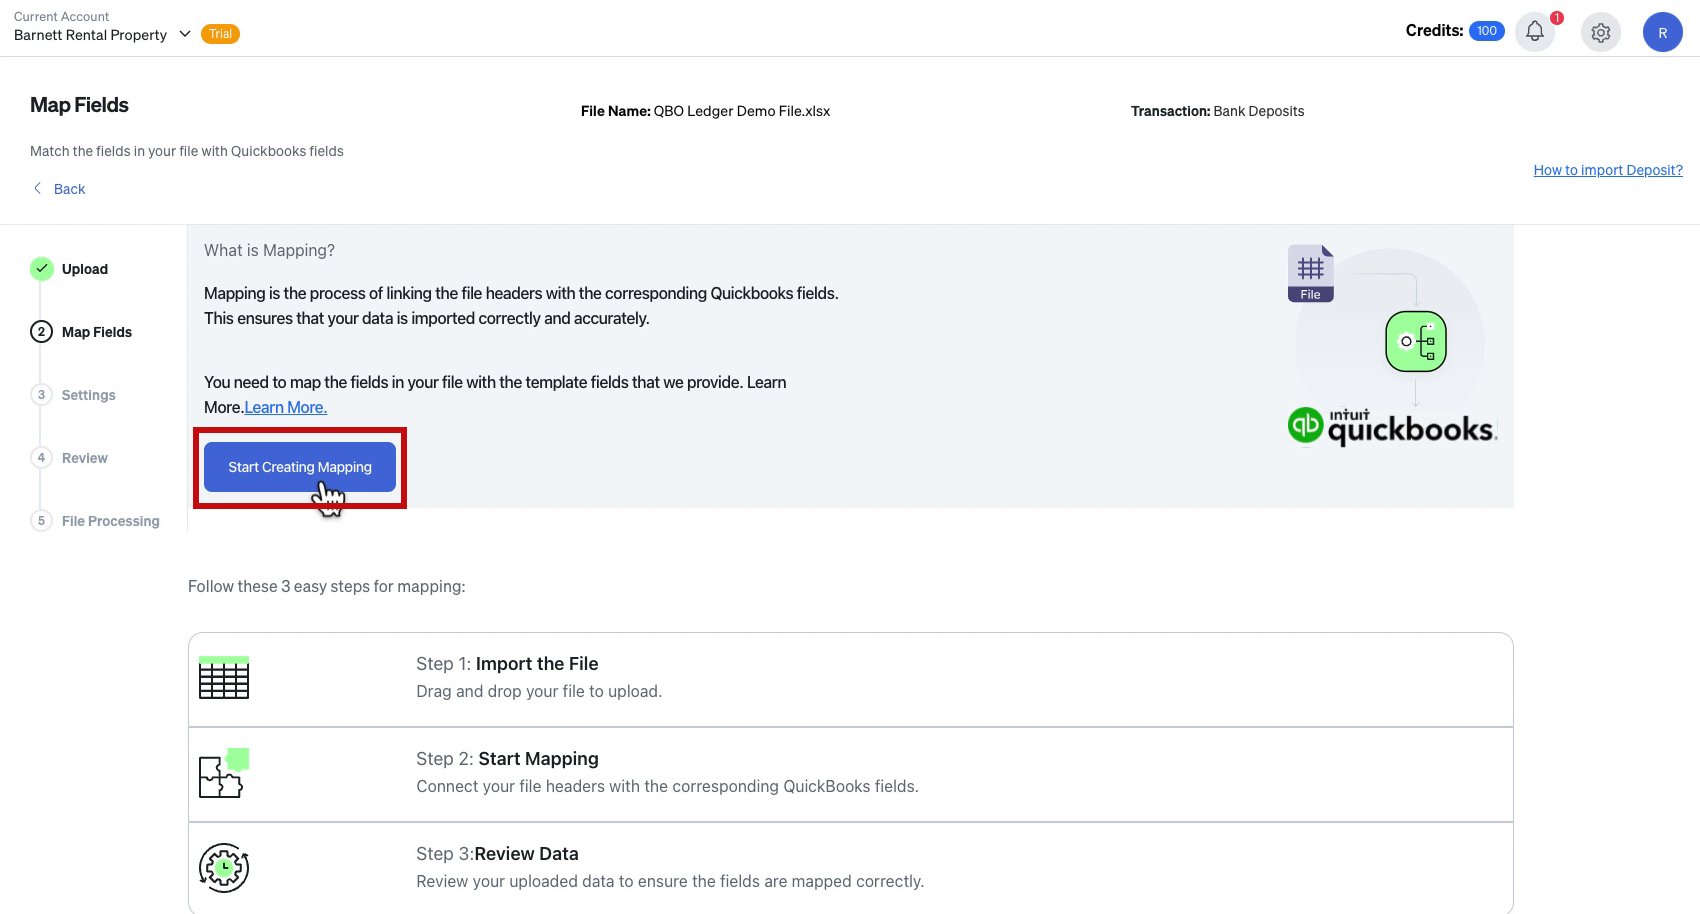
The next step is mapping the imported file. To begin click the Start Creating Mapping button.
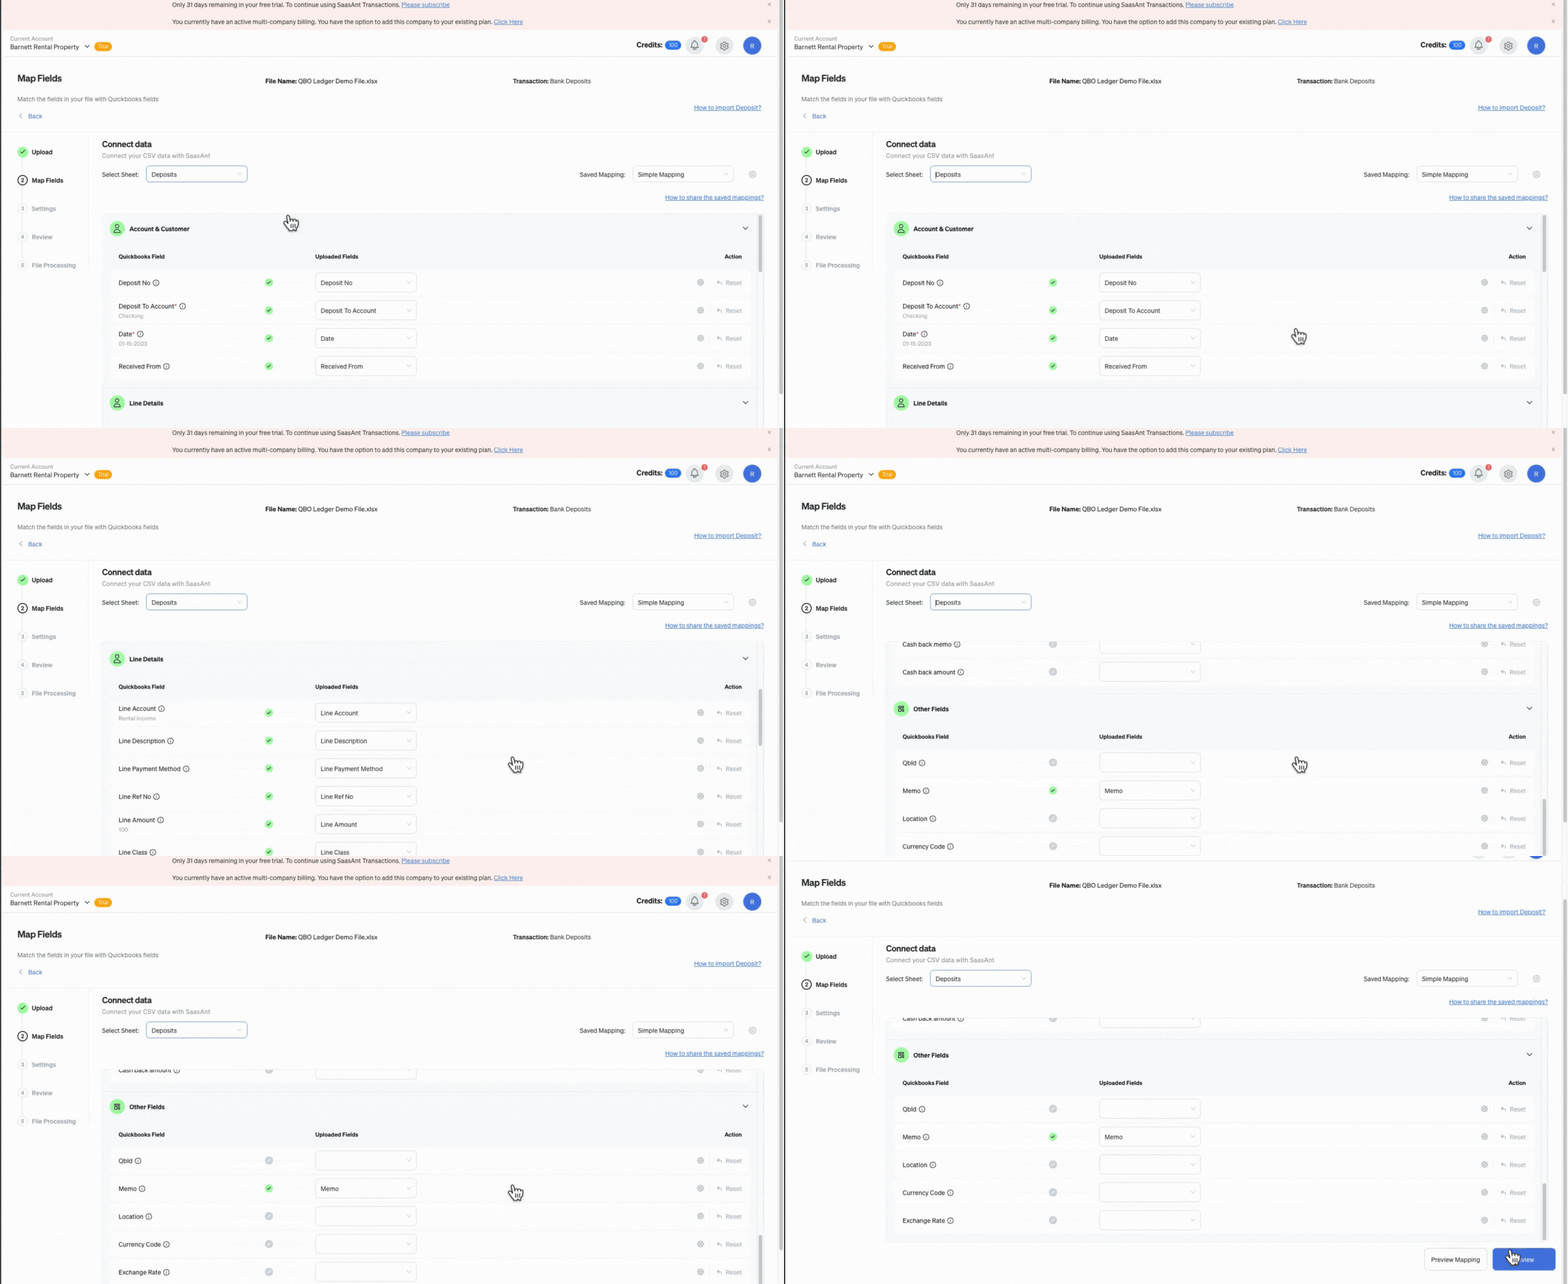
To start I’ll select Deposits from the Select Sheet drop-down menu.
Scroll through the mapping and check that everything looks good. Then click the Review button.
Next, double-check the Settings. Then click Save and Continue.
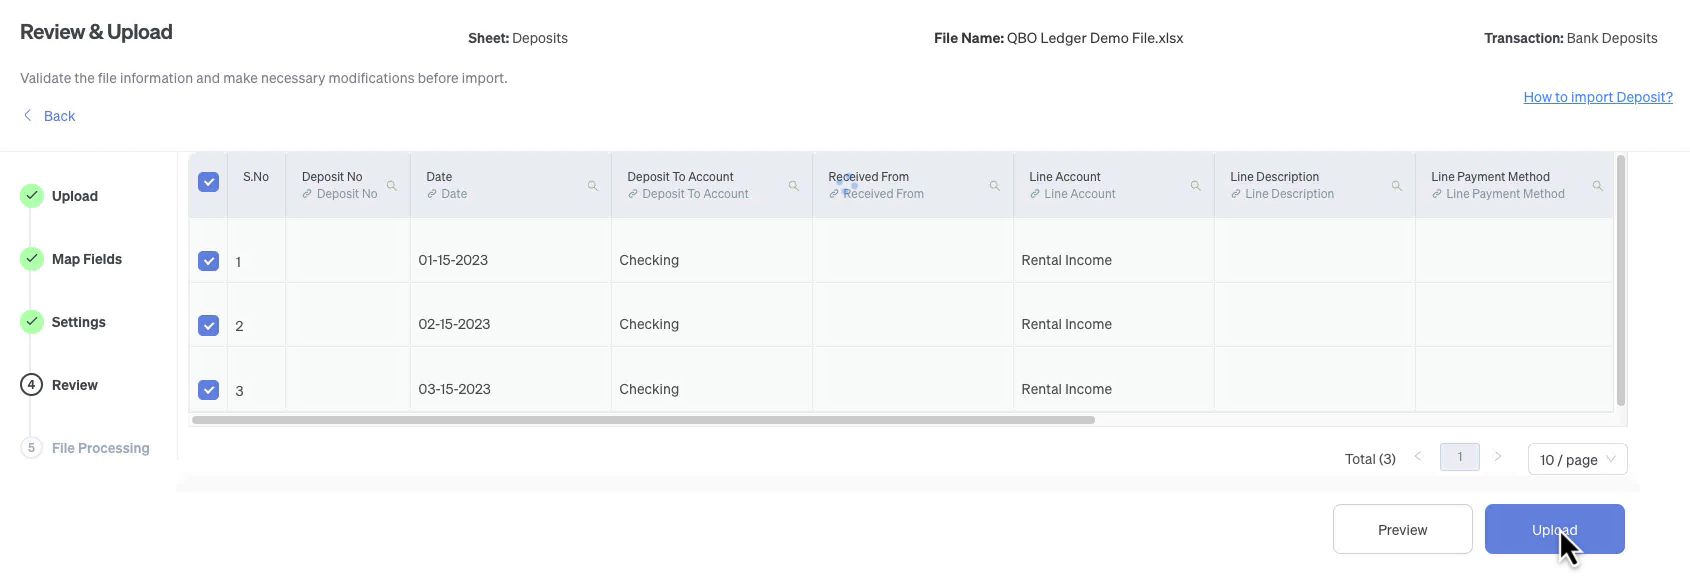
There’s one final review, then click the Upload button.
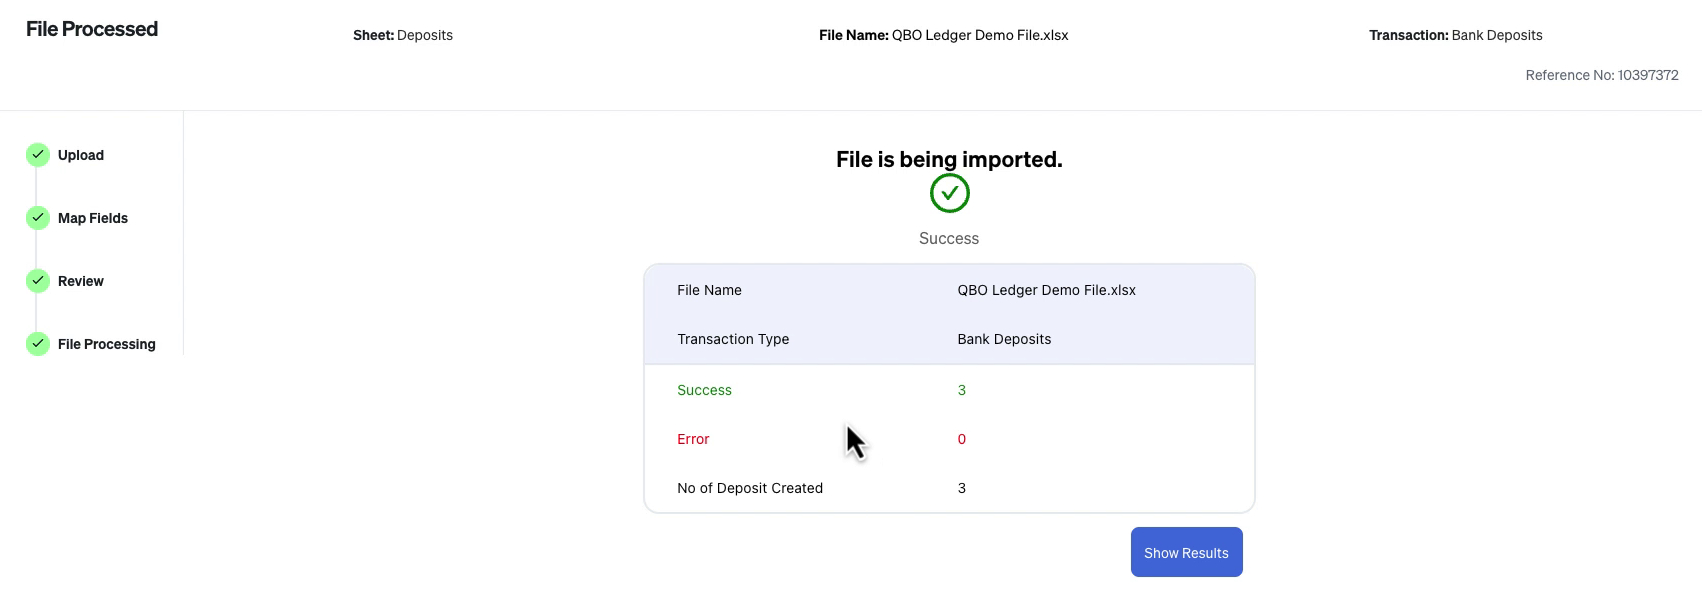
Now we wait for the transactions to import. When it’s done you’ll see a Success screen letting you know if there were any errors.
Transactions Imported Into QB Ledger
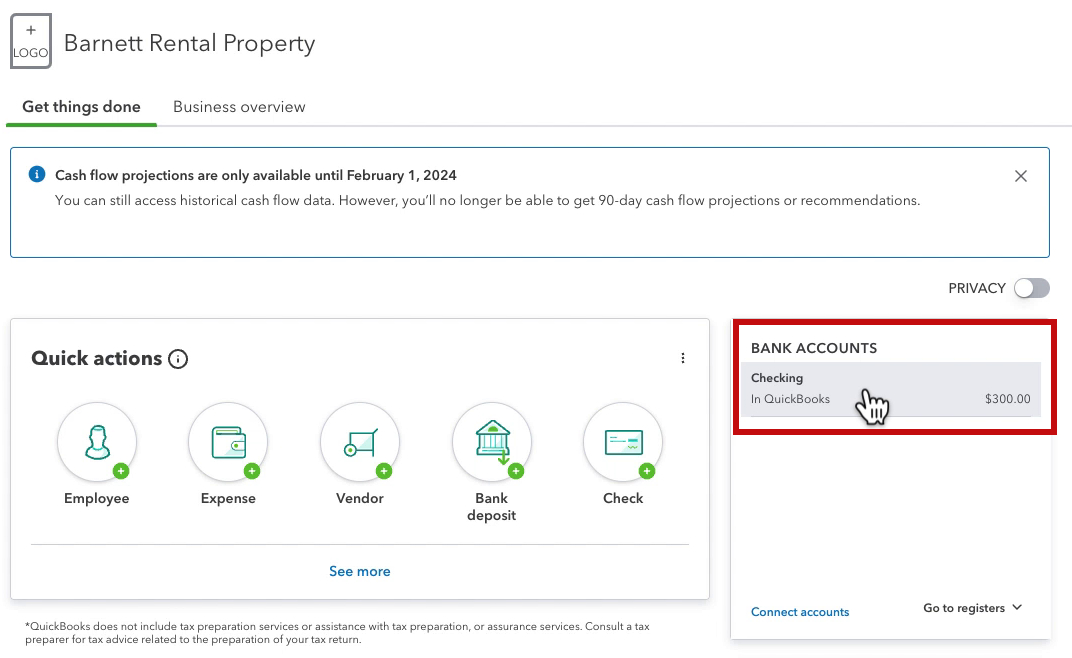
From the dashboard in my QB Ledger account I can see my Checking account now shows $300.
If I click on it, it takes me to the register. Here I can see the three transactions imported successfully.
I hope this was helpful. Scroll down if you’d like to watch the video version.
☕ If you found this helpful you can say “thanks” by buying me a coffee… https://www.buymeacoffee.com/gentlefrog
Below is a video if you prefer to watch a walkthrough.
If you have questions about QuickBooks Ledger or importing transactions with SaasAnt click the green button below to schedule a free consultation.

