In this tutorial, I’ll show you how to create an invoice in the Canadian version of QuickBooks Online.
If you’d like to see how to do this in the US version of QuickBooks Online check out the blog post How to use Invoices, Sales Receipts and Deposits in QuickBooks Online.
Quick Instructions:
- Click the + New button
- Under Customers select Invoice
- Select your customer from the Customer drop-down
- Enter customer email address, if applicable
- If you accept credit cards as payment check off “Cards” under Online payments
- Select the terms using the Terms drop-down
- Enter the date of the invoice under Invoice date using the format DD/MM/YYYY
- Due date will update according to the terms or you can enter it manually.
- Under PRODUCT/SERVICE enter the product or service you’re selling.
- DESCRIPTION can be edited if necessary.
- Enter QTY
- Enter Rate / Amount
- Select Sales Tax from the drop-down
- Select how tax is applied in the “Amounts are” drop-down”
- Enter Class, if applicable
- Apply a percentage or value discount, if applicable
- Optional: Customize the Message on invoice and Message on statement
- Optional: Preview using the Print or Preview button at the bottom of the screen
- Save and send or Save and close
Keep reading for full instructions with screenshots.
Creating a New Invoice
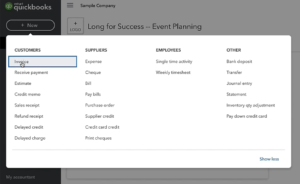
My favorite way to create an invoice in Quickbooks Online is to click the + New button in the upper-left-hand corner.
Under Customers select Invoice.
Entering Invoice Information
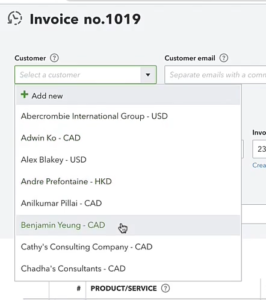
Use the Customer drop-down to find the customer you’d like to create an invoice for.
As is common in Canada I have clients using different currencies.
For this example, I’m going to use a CAD client.
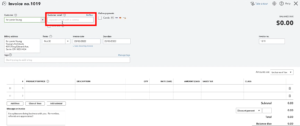
If you would like to email the client a copy of the invoice you can enter their email address in the Customer email field.
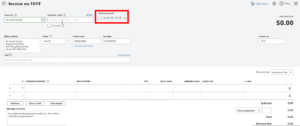
Under Online payments you can check off whether or not you accept credit cards as payment.
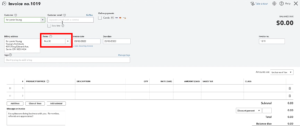
In the Terms drop-down, you can select the terms for the invoice.
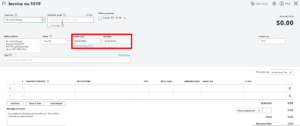
The invoice and due dates are in Canadian format: DATE/MONTH/YEAR
If you change your terms your due date will automatically update.
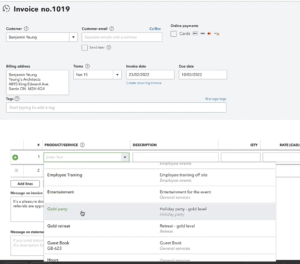
Now we move down and select the Product/Service we are selling to this customer.
The description field will automatically fill in the description of the product/service you selected. However, you can edit this to your liking.
Select what Sales Tax is being applied from the drop-down. I’m using Ontario.
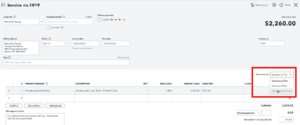
In the “Amounts are” drop-down up you can select from
- Exclusive of Tax: applies the appropriate sales tax.
- Inclusive of Tax: sales tax is already applied.
- Out of scope of Tax: sales tax does not apply.
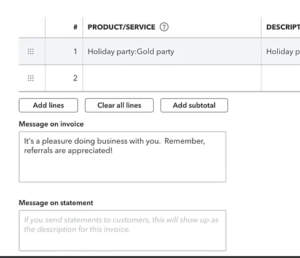
You can customize the Message on invoice or leave it blank.
The Message on statement will only be seen if a statement is sent.
Below the Subtotal you have the option to enter a discount. You can select “Discount percent” or “Discount value” from the drop-down. Discount percentage calculates a percentage off the invoice. For Discount value the amount you enter will be discounted from the invoice.
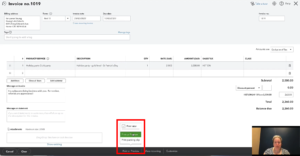
In the bottom middle of the screen, you can click “Print or Preview” and see what the invoice will look like to the client/customer.
Now you can “Save and send” or “Save and close” depending on whether you’re ready to send the invoice yet.
You now know how to create an invoice in QuickBooks Canada.
☕ If you found this helpful you can say “thanks” by buying me a coffee…
https://www.buymeacoffee.com/gentlefrog
Below is a video if you prefer to watch me show you how to do this.
If you have any questions about creating invoices or need any help with your QuickBooks click the green button below to schedule a free consultation.

